
Imagine this: you’re rushing to get to work, your keys are in your hand, and you press the button on your Viper alarm remote. Nothing. The car stays silent, and you’re left staring at the lifeless button with growing dread. Your first thought might be, “Oh no, my car alarm is broken!” But before you panic, consider this: perhaps your Viper alarm remote needs a little TLC, a simple reprogramming to get it humming again.
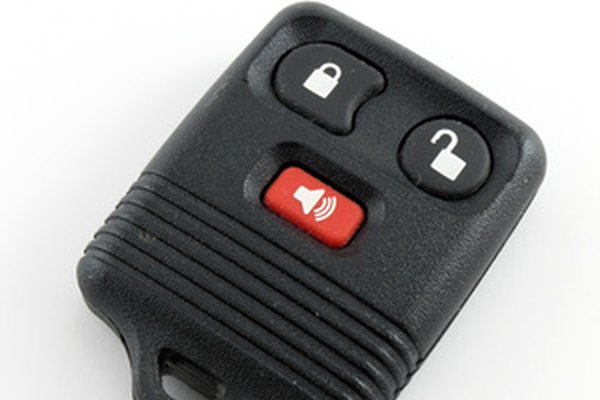
Image: itstillruns.com
This article is your guide to unlocking the secrets of your Viper alarm remote. We’ll delve into the process of reprogramming, breaking it down into easy-to-follow steps so you can reclaim control over your vehicle’s security with confidence. We’ll explain the ‘why’ behind the reprogramming process, along with common troubleshooting tips. By the end, you’ll be equipped to tackle this task yourself, saving money and time, and restoring your sense of peace of mind.
Understanding Your Viper Alarm Remote: A Closer Look
Before we dive into the reprogramming process, let’s understand the mechanics of your Viper alarm remote. It’s a vital piece of technology that allows you to control your car alarm’s functions, including arming and disarming the system, opening your trunk, and even starting your engine with remote start capabilities.
The magic behind your remote is the pairing between the remote’s unique identifier code and your car alarm’s receiving unit. Think of it as a handshake, a signal that acknowledges your remote as a legitimate key to control your car’s alarm system. However, like any handshakes, this connection can be broken, leading to your remote becoming unresponsive.
Common Scenarios Leading to a Reprogrammed Viper Alarm Remote
There are several reasons why your once-reliable Viper alarm remote might need a reprogramming “refresh”:
- Lost or Damaged Remote: If you’ve lost your remote or if it’s been damaged causing a malfunction (dropped, water-damaged, etc.), you’ll need to reprogram a replacement remote to work with your alarm system.
- New Alarm System Installation: If you’ve recently installed a new Viper alarm system, you’ll need to program your existing remotes or any new remotes you purchase to work with the new system.
- Battery Replacement: After replacing the battery in your Viper alarm remote, you might need to reprogram it. The battery replacement often resets the remote’s internal memory, breaking the pairing with the alarm system.
The Essential Equipment: Items You’ll Need
Gather these items to make reprogramming a breeze:
- Your Viper alarm remote: The remote that needs reprogramming.
- Your car’s owner’s manual: Your owner’s manual can provide specific instructions for your Viper alarm system model.
- Key: The physical key to your car, since you’ll probably need to use it to start the car’s ignition during the reprogramming process.
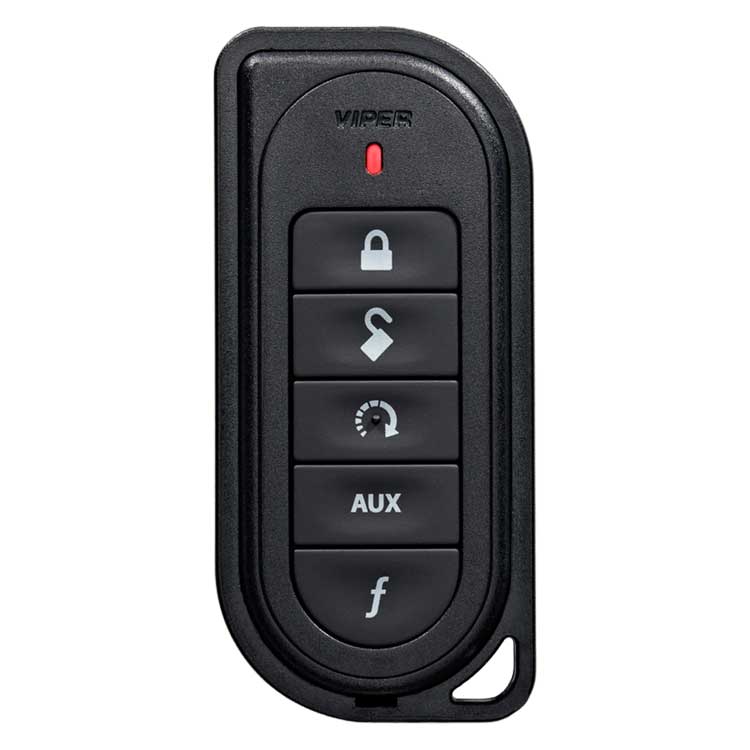
Image: www.viper.com
Step-by-Step Reprogramming: Mastering the Process
Here’s a general guide to reprogramming your Viper alarm remote, but remember to check your specific Viper alarm’s instructions since specifics can vary:
Step 1: Unlock Your Door and Enter the Vehicle:
Unlock your car door using your key and enter the vehicle.
Step 2: Turn Your Car’s Ignition On:
Insert your key and turn the ignition to the “ON” position, but do not start the engine.
Step 3: Locate the Programming Button:
- Find the programming button: This button is typically located near the car alarm’s control unit, usually under your dashboard. Some alarm systems have a separate button for reprogramming.
Step 4: Identify the Remote’s Programming Button:
- Check your remote: See if your Viper alarm remote has a separate programming button.
- Different models: Some Viper remotes use a specific sequence of button presses to initiate programming. Look for instructions in your car’s owner’s manual.
Step 5: Press the Programming Button:
- Press and hold: Press and hold the programming button on the alarm system’s control unit for a specified amount of time.
- Flashing lights: You should see flashing lights on the alarm system’s control unit, indicating it’s ready to receive programming signals.
Step 6: Program Remote:
- Press buttons: Press and hold the button on your Viper alarm remote that you want to program.
- Release: Release the button once you see a visual confirmation on the alarm system (flashing lights or a beep). Some remotes may require you to press the button multiple times for a specific function (like trunk release).
Step 7: Repeat for Additional Remotes:
- Additional remotes: Repeat steps 5 and 6 for any other Viper alarm remotes you want to program.
Step 8: Complete Programming:
- Confirm: Once all the remotes are programmed, the alarm system will acknowledge it with flashing lights or sounds.
- Turn off ignition: After the confirmation, turn off your car’s ignition and try out your newly programmed remotes.
Troubleshooting Tips: Addressing Common Challenges
Here are some common troubleshooting tips:
- Check the battery: Ensure your Viper remote’s battery is fresh. A low battery can interfere with the programming process.
- Read your manual: Refer to your specific Viper alarm system’s manual for detailed instructions on the programming procedure.
- Reset the alarm system: If you’re still experiencing issues, try resetting the alarm system. Consult your car manual for specific instructions on how to reset your Viper system.
- Professional assistance: If you find yourself lost, it’s always wise to seek professional help from a qualified car mechanic or a certified Viper alarm installer.
How To Reprogram A Viper Alarm Remote
Conclusion
Reprogramming your Viper alarm remote doesn’t have to be a daunting task. By following the steps outlined above, you can regain control of your car’s security system and unlock the convenience of a functional Viper remote. Remember to consult your owner’s manual for detailed instructions specific to your Viper alarm system model, and don’t hesitate to seek professional help should you need to. With a little patience and this easy-to-follow guide, you can keep your car safe and your confidence high.


